Parent emergency playbook

Prepare Your Teen for Driving Emergencies

Know what to do when brakes, tires, or traffic demand an instant response. Built on certified instructor training exercises.

Teens with actively involved parents are 50% less likely to crash in their first year of driving. Methodology →
WHAT SHOULD MY TEEN DO IN A DRIVING EMERGENCY?

The first three rules in any driving emergency.

Rule 01

Calm grip on the wheel.

Rule 02

Controlled reduction in speed.

Rule 03

Practiced response, not panic reaction.

The first rule in any driving emergency: do not panic-brake and do not jerk the wheel. The correct response depends on the situation, but nearly all emergencies reward a calm grip on the wheel and a controlled reduction in speed. Practicing specific responses in a parking lot turns panic into reflex.

The Zutobi Parent Driving System trains emergency braking and swerving in Phase 2, then revisits emergency response at highway speeds in Phase 4.

THE PLAYBOOK

Five emergencies. Five rehearsed responses.

Each card is a stand-alone procedure your teen can rehearse in a parking lot or at the kitchen table. Stripe color signals severity.

CAUTION

Emergency braking: stomp and stay

Modern cars have anti-lock brakes (ABS). When your teen needs to stop as fast as possible, the technique is "stomp and stay": press the brake pedal hard and hold it down.

ABS will pulse under the foot, and that vibration is normal. Your teen should keep full pressure on the pedal and steer where they want the car to go.

DO — in order

  1. Press the brake pedal hard. Full force.
  2. Hold the pedal down — do not pump it.
  3. Expect the ABS to pulse under your foot. That vibration is normal.
  4. Steer where you want the car to go.

PRACTICE

Empty parking lot at 15 to 20 mph. Give the command "Stop," and your teen slams the brake and holds until the car is fully stopped. Repeat until automatic. The PTTG calls this the “urgent stop” exercise and introduces it in Phase 2.
CAUTION

Emergency swerve technique

Sometimes braking alone won't avoid a hazard. Your teen needs to know how to swerve without losing control.

The technique from the PTTG: release the accelerator (no braking during the swerve), turn the steering wheel 90 degrees in the swerve direction, then immediately counter-steer 180 degrees the opposite way. The car will sway, and that sway is expected.

Once the vehicle straightens, check the rearview mirror and brake hard. Start slow in a parking lot and increase speed gradually.

DO — in order

  1. Release the accelerator. No braking during the swerve.
  2. Turn the steering wheel 90 degrees in the swerve direction.
  3. Immediately counter-steer 180 degrees the opposite way.
  4. Once straight, check the rearview mirror and brake hard.

NON-NEGOTIABLE

  • No braking during the swerve. Braking while turning at speed can cause a spin.
  • Hands stay on the wheel at 9 and 3 so the counter-steer is fast and controlled.
EMERGENCY

Tire blowout response

A blowout sounds like an explosion and pulls the car hard to one side. Teens instinctively slam the brakes, which makes the skid worse.

Teach the correct response:

DO — in order

  1. Grip the wheel firmly with both hands and hold it straight.
  2. Ease off the gas slowly. Do not brake.
  3. Let the car coast down to a manageable speed.
  4. Signal right and guide the car to the shoulder.
  5. Once at low speed, brake gently and stop.

REHEARSE THE WORDS

Practice the verbal sequence at home: “Grip, ease off, coast, shoulder, stop.” Repetition builds the recall your teen needs when the noise and steering pull hit at the same time.

EMERGENCY

What to do after a crash

Even minor collisions can rattle a new driver. Give your teen a clear checklist before they ever need it.

DO — in order

  1. Check yourself and passengers for injuries.
  2. If the car can move and traffic allows, pull to the shoulder or a nearby parking lot.
  3. Turn on hazard lights.
  4. Call 911, even for minor damage.
  5. Exchange insurance and contact information with the other driver.
  6. Take photos of damage, license plates, and the scene.

COACH THIS PHRASE

  • Your teen should never admit fault at the scene.
  • Stay calm, stick to facts, and let insurance and police handle responsibility.
PREVENTION

Engine failure and roadside breakdown

If the engine stalls in traffic, your teen should shift to neutral, turn on hazard lights, and steer toward the shoulder using whatever momentum remains. Once stopped, try to restart.

If the engine won't turn over, stay in the car with the seatbelt on and call for roadside assistance. The same protocol applies to overheating, dashboard warning lights, or a flat tire your teen can't change: get off the road, stay visible, stay inside, call for help.

DO — in order

  1. Shift to neutral.
  2. Turn on hazard lights.
  3. Steer toward the shoulder using remaining momentum.
  4. Once stopped, try to restart.
  5. If it won't turn over: stay in the car with seatbelt on, call roadside assistance.

HIGHWAY SHOULDER RULE

  • Always exit from the passenger side.
  • Coach your teen to never stand between their car and oncoming traffic.
TRUNK KIT

Keeping an emergency kit in the car

A basic kit costs under $30 and covers most roadside situations.

Trunk inventory6 items
No. 01
First-aid supplies
Bandages, gauze, antiseptic wipes.
No. 02
Flashlight with extra batteries
Stored together so a dead light isn’t a surprise.
No. 03
Reflective triangles or flares
For shoulder visibility, day or night.
No. 04
Jumper cables
For dead-battery starts on the side of the road.
No. 05
Tire pressure gauge
A 30-second check at every fill-up.
No. 06
Phone charger
So 911 and roadside calls always go through.
INSIDE THE SYSTEM

Inside the Zutobi Parent Driving System

The PTTG trains emergency skills starting in Phase 2 and builds on them through Phase 4 highway driving.

"Stomp and stay" emergency braking drills

From the first parking-lot lessons.

Swerve technique

90-degree turn and 180-degree counter-steer, practiced at increasing speeds.

Post-crash awareness

Built into the curriculum.

Coaching language

For staying calm during high-pressure exercises.

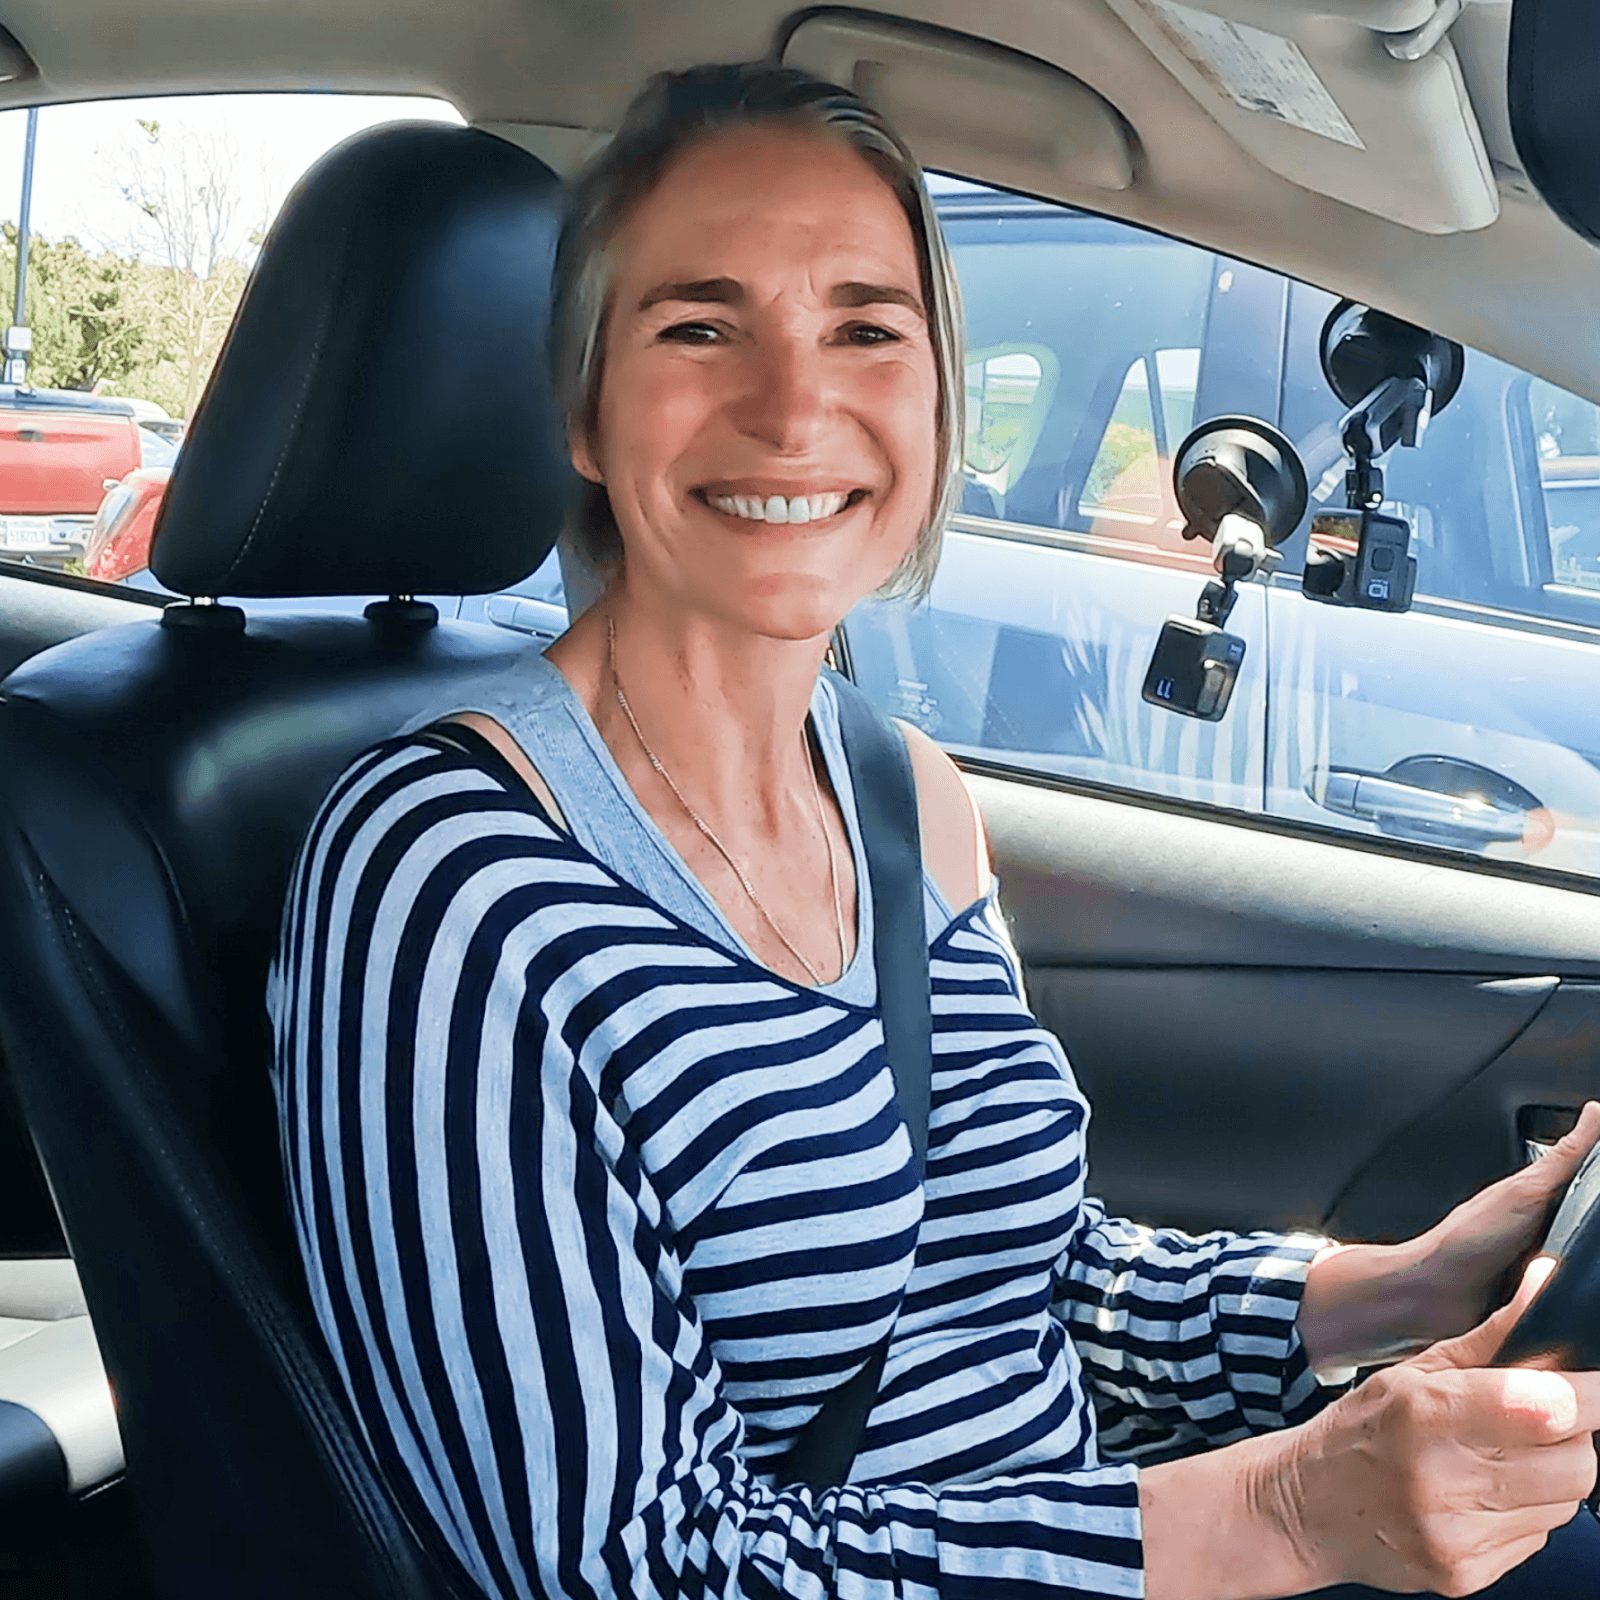
Certified driving instructor Jacqueline leads every PTTG lesson on video, walking you through each emergency maneuver and showing you what to coach.

Your instructorJacquelineCertified driving instructor
Follow the Zutobi Parent Driving System
FAQ

Driving Emergency FAQ

Yes. Practice in an empty parking lot at low speed. The "stomp and stay" reflex needs repetition before it becomes automatic in a real emergency.
Freezing is common for new drivers. Regular parking-lot drills reduce freeze responses by making the correct action feel familiar. The PTTG builds this into its Phase 2 exercises.
Swerve when braking alone can't avoid the hazard. The key rule: never brake during the swerve itself. Brake only after the car straightens.
Grip the wheel, ease off the gas, coast to lower speed, and pull to the shoulder. Do not slam the brakes. The instinct to brake hard is the most dangerous reaction during a blowout.
Yes. A basic kit with first aid, a flashlight, reflective triangles, jumper cables, and a phone charger covers most roadside situations for under $30.
Shift to neutral, turn on hazard lights, and steer toward the shoulder using remaining momentum. Once stopped, try to restart. If it won't start, stay in the car with hazards on and call for help.
Instructor Jacqueline walks you through emergency braking and swerve exercises on video. The PTTG starts these drills in Phase 2 and revisits them at higher speeds in Phase 4.
Check for injuries, move off the road if possible, turn on hazard lights, and call 911. Exchange information and photograph the damage. Do not admit fault.

FINAL STEP

Follow a Structured System Inside Zutobi

Give your teen the safety advantage. Start the Zutobi Parent Driving System.