Teach Your Teen to Drive
A parent’s guide to structured, safe driving instruction. Designed around certified instructor methods and peer-reviewed safety research.
Start the parent programTeens with actively involved parents are 50% less likely to crash in their first year of driving.
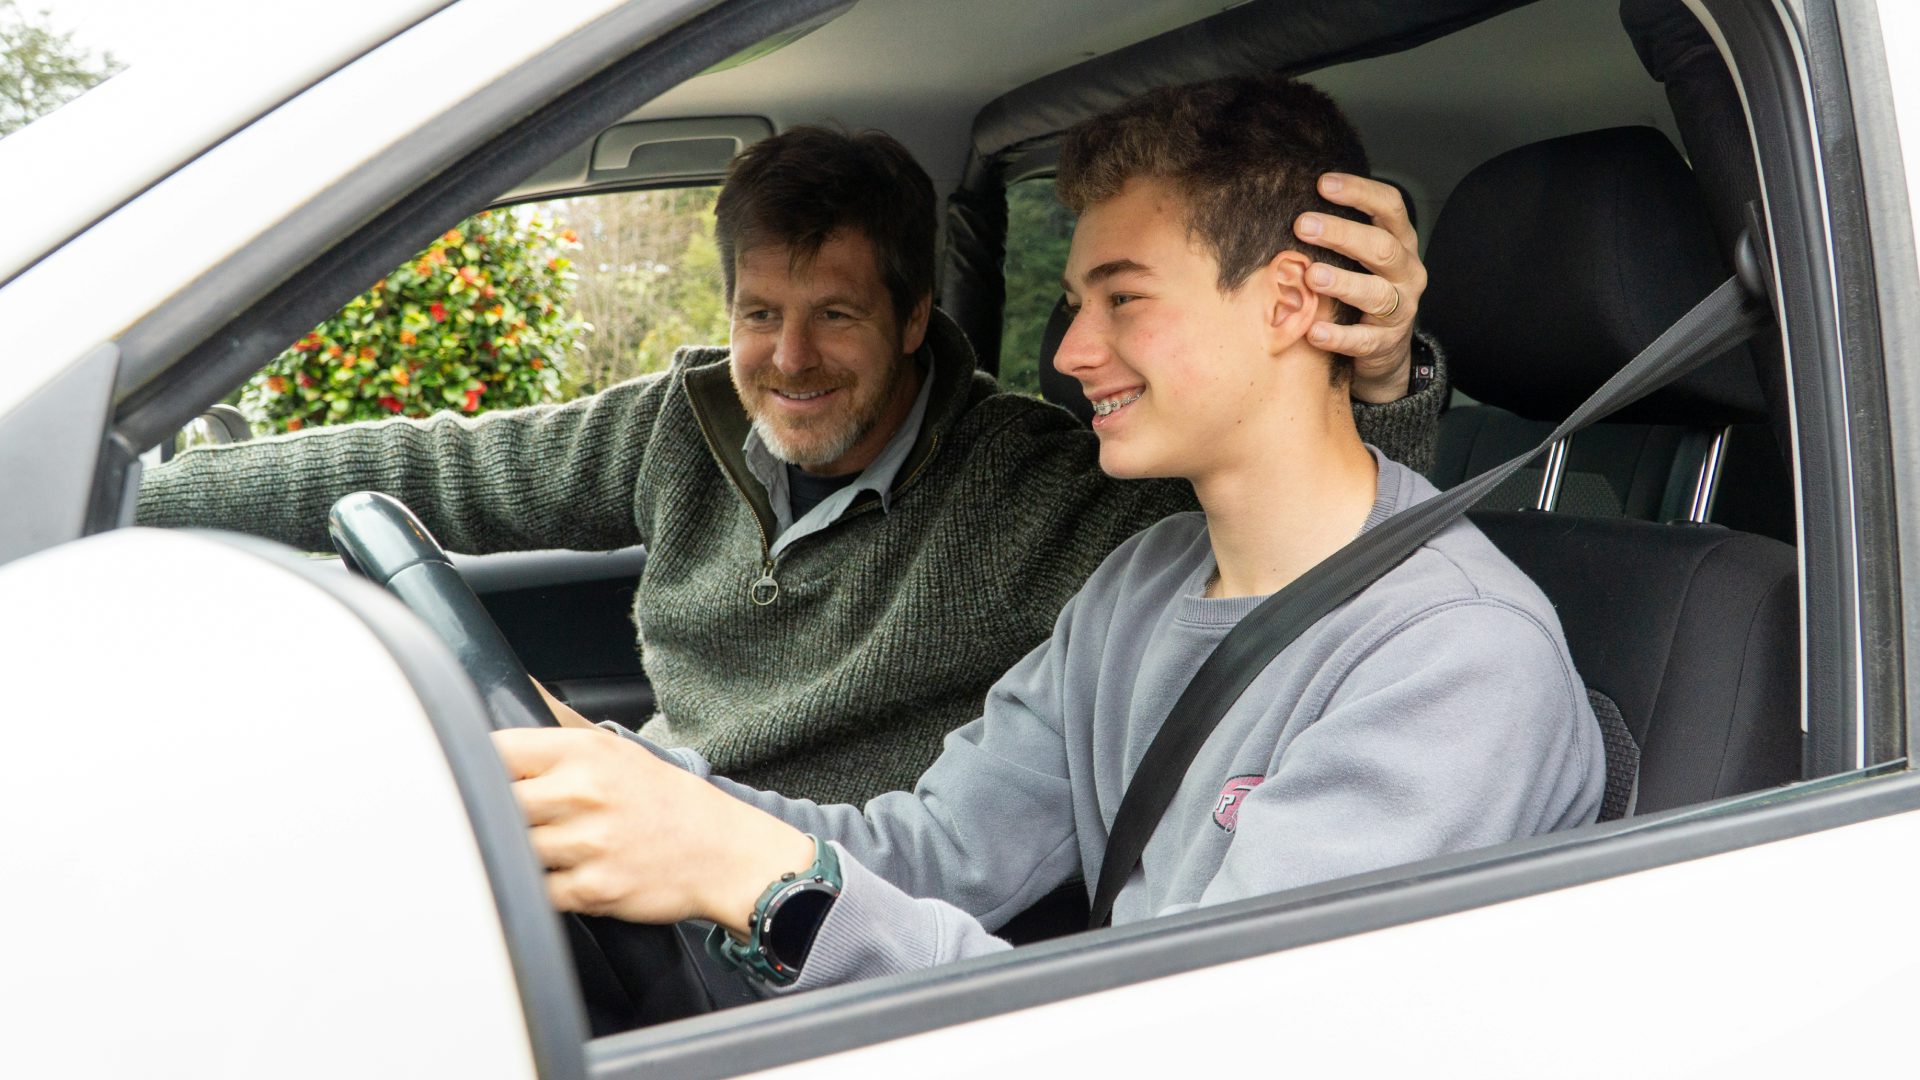
How do I teach my teen to drive?
You teach your teen to drive by following a structured progression: start with vehicle setup in a parked car, move to an empty parking lot at idle speed, then build toward residential streets, highways, and night driving. Each stage adds one new skill at a time.
Most states require 40 to 60 hours of parent-supervised practice before a teen can test for a license. The Zutobi Parent Driving System breaks those hours into a skill-based curriculum led on video by certified driving instructor Jacqueline R. Choose your state to see your exact hour and night-hour requirements.
Before the first lesson
Pick a day when both of you are calm and unhurried. If your teen is anxious or you are stressed from work, postpone. A first lesson shaped by frustration teaches your teen that driving is stressful, not that driving is learnable.
Your teen’s first time behind the wheel should not happen in traffic. Start with two parked sessions before the car ever moves.
- Session 1: Vehicle orientation
Walk your teen through the interior controls: steering wheel position, turn signal lever, pedal layout, dashboard lights, and the glovebox (registration, insurance, owner’s manual). Have them practice flicking the turn signal with their middle finger, left hand on the wheel, without looking down.
- Session 2: Seat, mirrors, and the pre-start routine
Adjust the seat so the B-pillar aligns with the shoulder. Raise the seat height for a clear view over the dashboard. Slide the seat forward until the knees stay slightly bent at full pedal press.
The Wrist Flex Test: have your teen extend both arms over the steering wheel. Their wrists should rest on the top of the rim without their shoulders lifting off the seat back. When they drop to the 9-and-3 driving position, elbows will be relaxed.
Set mirrors next. The rear-view mirror frames the entire rear window. Each side mirror shows about 20% of the car and 80% of the road. Instructor Jacqueline R. uses the back door handle as a reference point: it should sit in the bottom-right corner of the left mirror.
Run the pre-start checklist every time: check tires, check underneath for leaks, scan the path of travel, clear windows, secure loose objects, lock doors, engage the parking brake, buckle up.
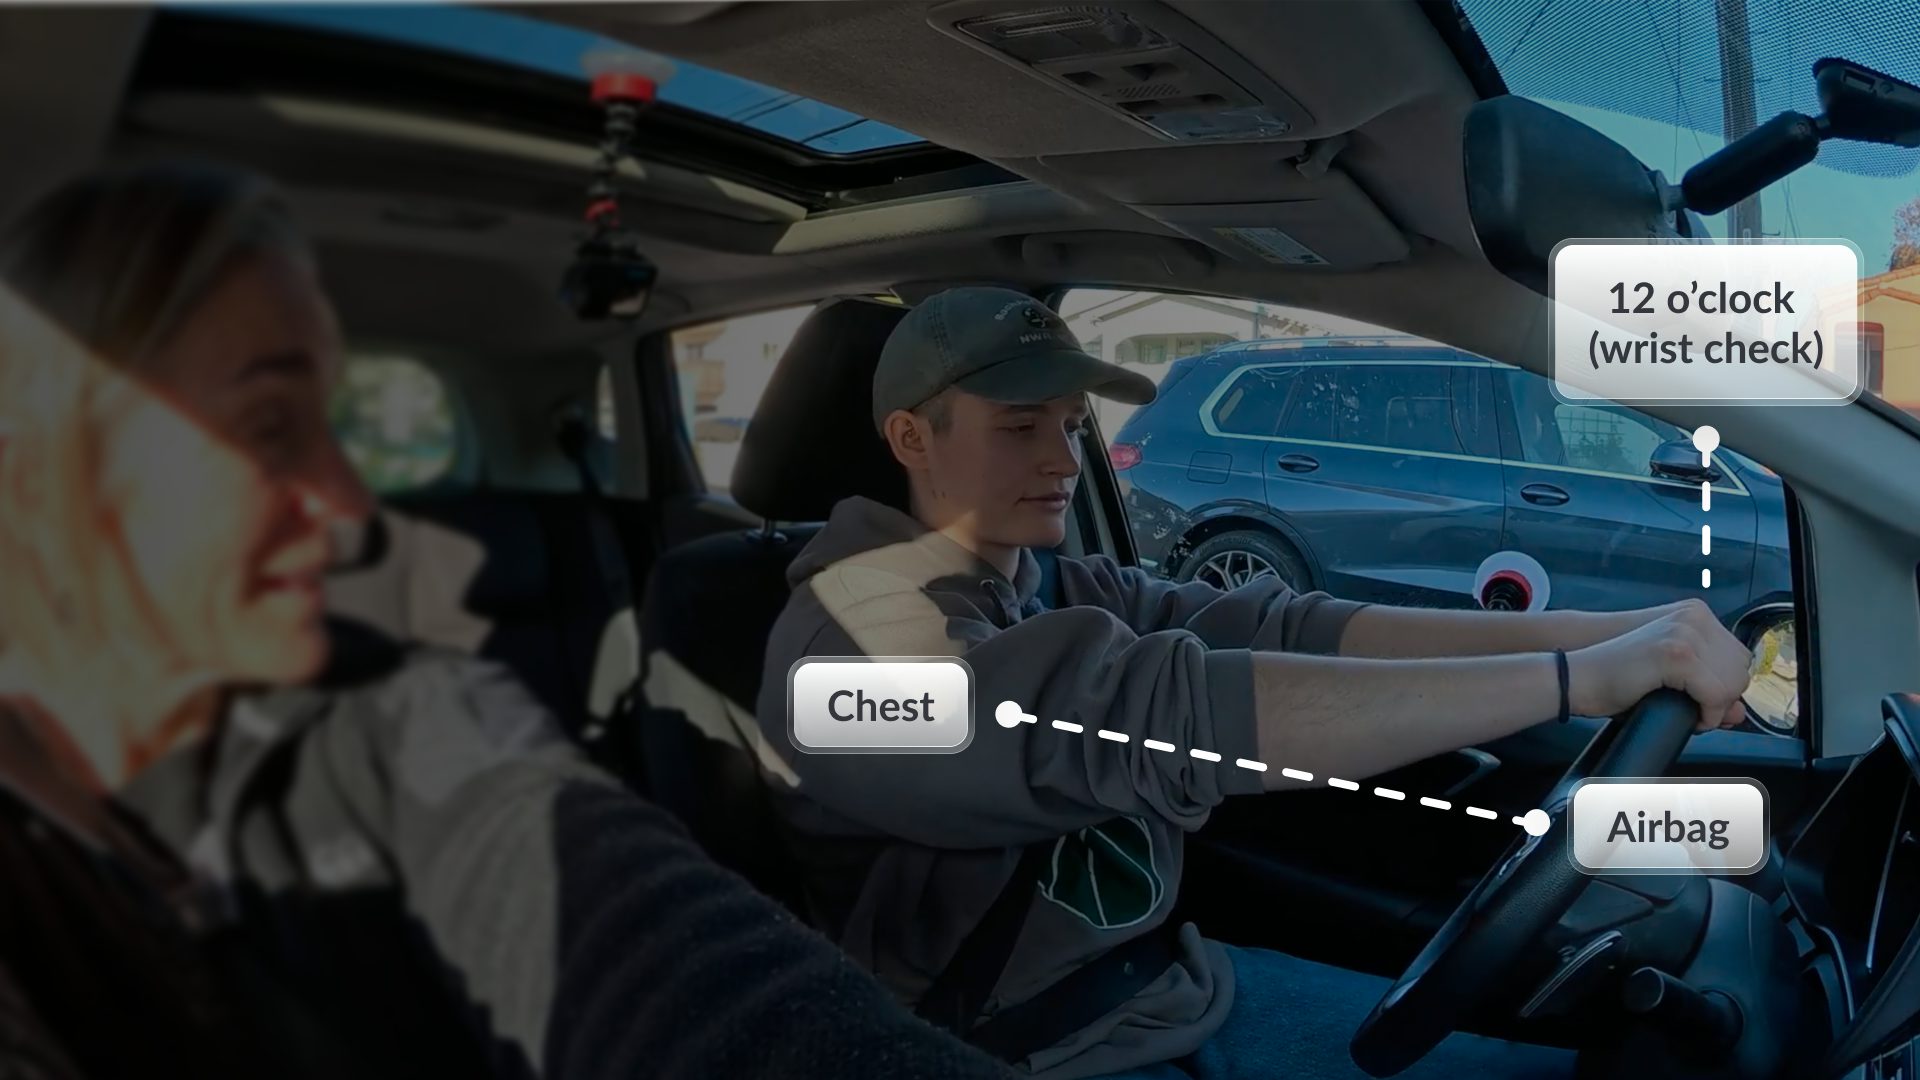
Seat set so the wrists reach 12 o’clock and the chest stays a safe distance from the airbag. - Insurance and paperwork
Before your teen drives on a public road, confirm they are covered. Call your insurer to add your teen as a permit or learner driver, and ask how your premium and deductible change.
Check that the practice vehicle’s registration and inspection are current, and keep proof of insurance in the glovebox. Driving without coverage or a valid permit is illegal and can void a claim.
Your in-car communication system
Agree on a set of commands before the car moves. Your teen should know exactly what each word means and not be startled when you say it.
Say "At the next stop sign, turn right" instead of "Turn right here." This gives your teen time to process the instruction before executing.
Your teen should know in advance that you may grab the steering wheel, pull the handbrake, or turn off the engine. Frame it as part of the learning process, not a failure. If either of you feels overwhelmed, stop the lesson. A positive experience builds confidence faster than a forced one.
The first driving lesson
Drive your teen to a spacious, empty parking lot. Set up three markers roughly 150 feet apart: a start point, a midpoint, and an endpoint. Use existing painted lines or cones.
Shift into Drive. Your teen lifts their toe off the brake and lets idle power roll the car forward. No gas pedal. They stop at the midpoint by pressing the brake. Repeat in reverse.
Your teen pivots from brake to gas and accelerates smoothly to 10 mph. At the midpoint, they pivot back to brake and stop. The heel stays planted on the floor the entire time.
Full run from start to endpoint and back in reverse. Focus on steady speed and straight-line tracking.
Accelerate, then give the command "Stop." Your teen brakes hard. This builds the "stomp and stay" reflex for emergencies. Repeat until the stop feels automatic, not scary.
A five-phase progression from permit to license
Structured practice outperforms random driving. A Virginia Tech study found that teens who practiced in varied conditions had 30% fewer high-risk events once they drove independently.
Help your teen pass the written knowledge test. Zutobi’s exam simulator matches each state’s format.
Empty parking lot. Vehicle setup, idle-speed control, basic steering, and emergency stops.
Residential streets. Turns, intersections, roundabouts, scanning, lane positioning.
Highways, night, rain. The settings tied to the worst teen crashes when skipped.
Repeat weak skills until they feel routine. Practice the maneuvers your state’s examiner uses.
Your state’s Zutobi parent guide lists the exact hour totals, night-hour split, and supervisor age for each phase.
Awareness skills to coach in every phase
Vehicle control gets the attention, but awareness is what prevents crashes, and it builds across every phase, not just one. Coach these habits from the first parking lot session and keep reinforcing them as the environments get harder.
The skill development guide covers these scanning and hazard habits session by session.
How to plan your practice sessions
Shorter is fine; longer usually means fatigue wins. Three sessions a week builds skills faster than one long weekend drive.
If you are working on turns, do not add scanning drills in the same session. Your teen absorbs more when the lesson has a single focus.
If a new skill is not clicking, switch back to something they already do well so the drive finishes with confidence. Stop early if either of you feels frustrated or tired. A bad ending sticks longer than a bad middle.
"Today we are doing right turns. We will drive the lot perimeter until you can turn without swinging wide twice in a row." Clear expectations reduce anxiety for both of you.
Mistakes that slow your teen’s progress
Covering turns, merging, and night driving in the same session overloads a new driver. One new skill per outing is faster in the long run.
Avoiding highways and night drives feels safer, but those are the settings linked to the most dangerous teen crashes. Schedule them after foundational skills are solid, not indefinitely.
Most parents teach the shortcuts they drive by, not the techniques a certified instructor would use. The PTTG gives you coaching language for each skill so you teach what the examiner and safety research recommend.
Logging required hours does not always equal skill growth. Skill-based checkpoints tell you when your teen is ready for the next environment, not the clock.
Too much feedback in a single lesson increases stress. Focus on one skill per session. If your teen nails the pivot but drifts on the lane, save the lane-positioning feedback for next time.
How to teach your teen to drive: key steps
The full process comes down to a clear sequence:
Active parent involvement is the single biggest factor in the outcome, which is why structured, supervised practice matters more than logged hours alone.
Inside the Zutobi Parent Driving System
The PTTG breaks the full parent-supervised driving experience into 35 video-led lessons. Each lesson names the skill, the coaching points, the common mistakes, and what "good" looks like from inside the car.
Parent Teaching FAQ
How many hours of supervised driving do states require?
Do I need to tell my insurance company my teen is practicing?
Do I need an instructor’s license to teach my teen?
What should I teach first?
How long should each practice session be?
How do I know when my teen is ready to drive alone?
Is structured practice better than just logging hours?
What is the Parent-Teen Training Guide?
Follow a Structured System Inside Zutobi
Give your teen the safety advantage that research supports. Start the Zutobi Parent Driving System.
Start for free


