From Parking Lot to Real Streets
Your teen handled the empty lot. Now it's time for residential streets, where turns, intersections, and other drivers test every skill they've built so far.
Structured, varied practice reduces high-risk crash events by 30% once teens drive independently (Virginia Tech).
How do I teach my teen to drive on residential streets?
Start with right turns in a quiet neighborhood, then add left turns, intersections, and roundabouts one session at a time. Each skill builds on the last, so your teen faces one new challenge per outing.
The Zutobi Parent Driving System covers this progression in Phase 3. Certified driving instructor Jacqueline leads every lesson on video, showing you what to coach and what to watch for.
Teaching turns on residential streets
Right turns
Right turns come first. They use a tighter radius and keep your teen on the same side of the road, away from oncoming traffic.
Have your teen signal early, position in the rightmost lane, and stay close to the curb through the turn. The common mistake is swinging wide into the adjacent lane.
At stop signs, practice a full stop before checking for pedestrians, cyclists, and cross-traffic. At traffic lights, cover both dedicated turn arrows and standard greens where yielding to pedestrians is required.
Left turns
Left turns are harder because your teen must cross oncoming traffic and judge gaps in real time. Start on a single-lane residential road where speeds are low.
Teach your teen to evaluate both the speed and distance of oncoming cars before committing to the turn. Signal early, position in the left-turn lane or leftmost lane, and complete the turn into the correct receiving lane without cutting across multiple lanes.
The rule
Restricted-visibility left turns
If your teen cannot see past the obstruction, creep forward slowly until the view opens.
After basic left turns feel controlled, introduce restricted-visibility left turns where parked cars, trees, or buildings block the sight line.
Intersections: controlled and uncontrolled
Intersections are the most common collision point for teen drivers. Approach every one by reducing speed and scanning left-right-left before proceeding.
Controlled intersections
Practice complete stops at red lights and stop signs. Your teen should stop behind the stop line, confirm the intersection is clear, then go.
At green lights without a turn arrow, cover the yielding sequence for left turns against oncoming traffic.
Uncontrolled intersections
No signs or signals. The right-of-way default: the driver who arrives first proceeds first.
If two drivers arrive at the same time, the driver on the right goes. Your teen should slow to near-stop and scan both directions before entering.
T-intersections
The driver on the through road has the right-of-way. Your teen on the terminating road yields and waits for a safe gap.
Complex intersections
After standard setups feel routine, practice intersections with multiple lanes or unusual geometry. Discuss lane choice before arrival so your teen is already positioned correctly.
Roundabouts
90%
Roundabouts replace traditional intersections in a growing number of U.S. communities. Fatal crashes dropped by nearly 90% at intersections converted to roundabouts (Insurance Institute for Highway Safety).
Teach these rules before your teen enters one:
- 01
Yield to traffic already circling. Do not stop unless a vehicle is approaching from the left.
- 02
Choose the correct entry lane based on the intended exit. In multi-lane roundabouts, lane choice determines which exit is reachable.
- 03
Maintain a steady speed inside the circle. No braking unless traffic requires it.
- 04
Signal right before exiting.
- 05
Watch for pedestrians and cyclists at both the entry and exit crosswalks.
Start on a single-lane roundabout. When that feels predictable, move to a multi-lane roundabout and practice entering, circulating, and exiting from each lane.
Scanning and situational awareness
Scanning separates a reactive driver from a prepared one. Instructor Jacqueline teaches it in four stages, and you can practice the first two with the car parked.
The Parked Scan
Park somewhere with a view of an active street. Ask your teen to look out the left window and describe everything they see — not just cars, but pedestrians, dogs, curb cuts, reflections in shop windows.
This trains them to notice small details that become hazards at speed.
Obstruction awareness
Point out objects that block the view: parked trucks, trees, fences. If you cannot see through it, assume something is behind it.
Have your teen check over their shoulders and compare what the mirrors show versus what a full head turn reveals.
The 360-degree narrated scan
Once moving, ask your teen to narrate what they see out loud. "Pedestrian on the left. Car turning right. Dog near the curb."
As a parent in the passenger seat, you can only see your teen's right eye. Narrating lets you confirm they are spotting hazards without guessing where they are looking.
The "Ask Them" technique
Instructor Jacqueline's tip for nervous parents: when you notice a hazard, ask "Do you see the pedestrian up ahead?" Hearing "yes" calms your nerves and reinforces your teen's scanning habit at the same time.
Mirror check rhythm
Teach a frequency your teen can sustain in normal traffic:
- Rear-view mirror: every 5 to 8 seconds, more often in heavy traffic.
- Side mirrors: every 10 to 15 seconds, or before any turn or lane change.
- Peripheral vision: monitor driveways and sidewalks without turning the head fully.
Lane positioning and parking
Centering in the lane
New drivers drift. Teach your teen to use a reference point on the hood or dashboard to judge whether the car is centered.
Practice on roads with different lane widths so they learn to adjust rather than memorize one position.
As you drive, call out lane markings: solid yellow center lines, dashed white lane dividers, double-solid no-passing zones. Each marking tells the driver what movement is allowed.
Parking lot driving
Parking lots combine slow speeds with high pedestrian density. Set the expectation: 10 mph on clear straightaways and 5 mph inside parking lanes where cars back out.
- Enter slowly and scan for pedestrians, shopping carts, and reversing vehicles.
- Yield to pedestrians in every situation, including unmarked crossings.
- At the exit, check for oncoming traffic and signal before merging onto the street.
Parking in a real spot
Start with angled or pull-through spaces. These are the easiest for a new driver because the approach angle is forgiving.
Move to perpendicular head-in parking next. Have your teen use a reference point on the car to line up between the painted lines.
After head-in parking feels routine, introduce reverse-in parking. If parallel spaces are available in the lot, practice those last.
Parking etiquette matters too. Park within the lines, leave enough room for adjacent doors to open, and exit the space slowly with a full scan for pedestrians.
What the Zutobi Parent System covers
The PTTG teaches every skill on this page across five steps — in this order, one session at a time.
Turns
STEP 01Intersections
STEP 02Roundabouts
STEP 03Scanning & situational awareness
STEP 04Lane positioning & parking
STEP 05Inside the Zutobi Parent Driving System
Phase 3 of the PTTG covers every skill on this page across eight video-led lessons. Each lesson names the skill, the coaching language, the common mistakes, and what success looks like from the passenger seat.
Video walkthroughs for turns, intersections, roundabouts, scanning, lane positioning, and parking.
Coaching language so you give the right instruction at the right moment.
Skill-based progress tracking showing covered skills and remaining gaps.
A structured sequence from the easiest skill (right turns) to the most complex (multi-lane roundabouts).
CHOP/State Farm research: actively involved parents reduce their teen's crash risk by 50% and intoxicated driving risk by 71%.
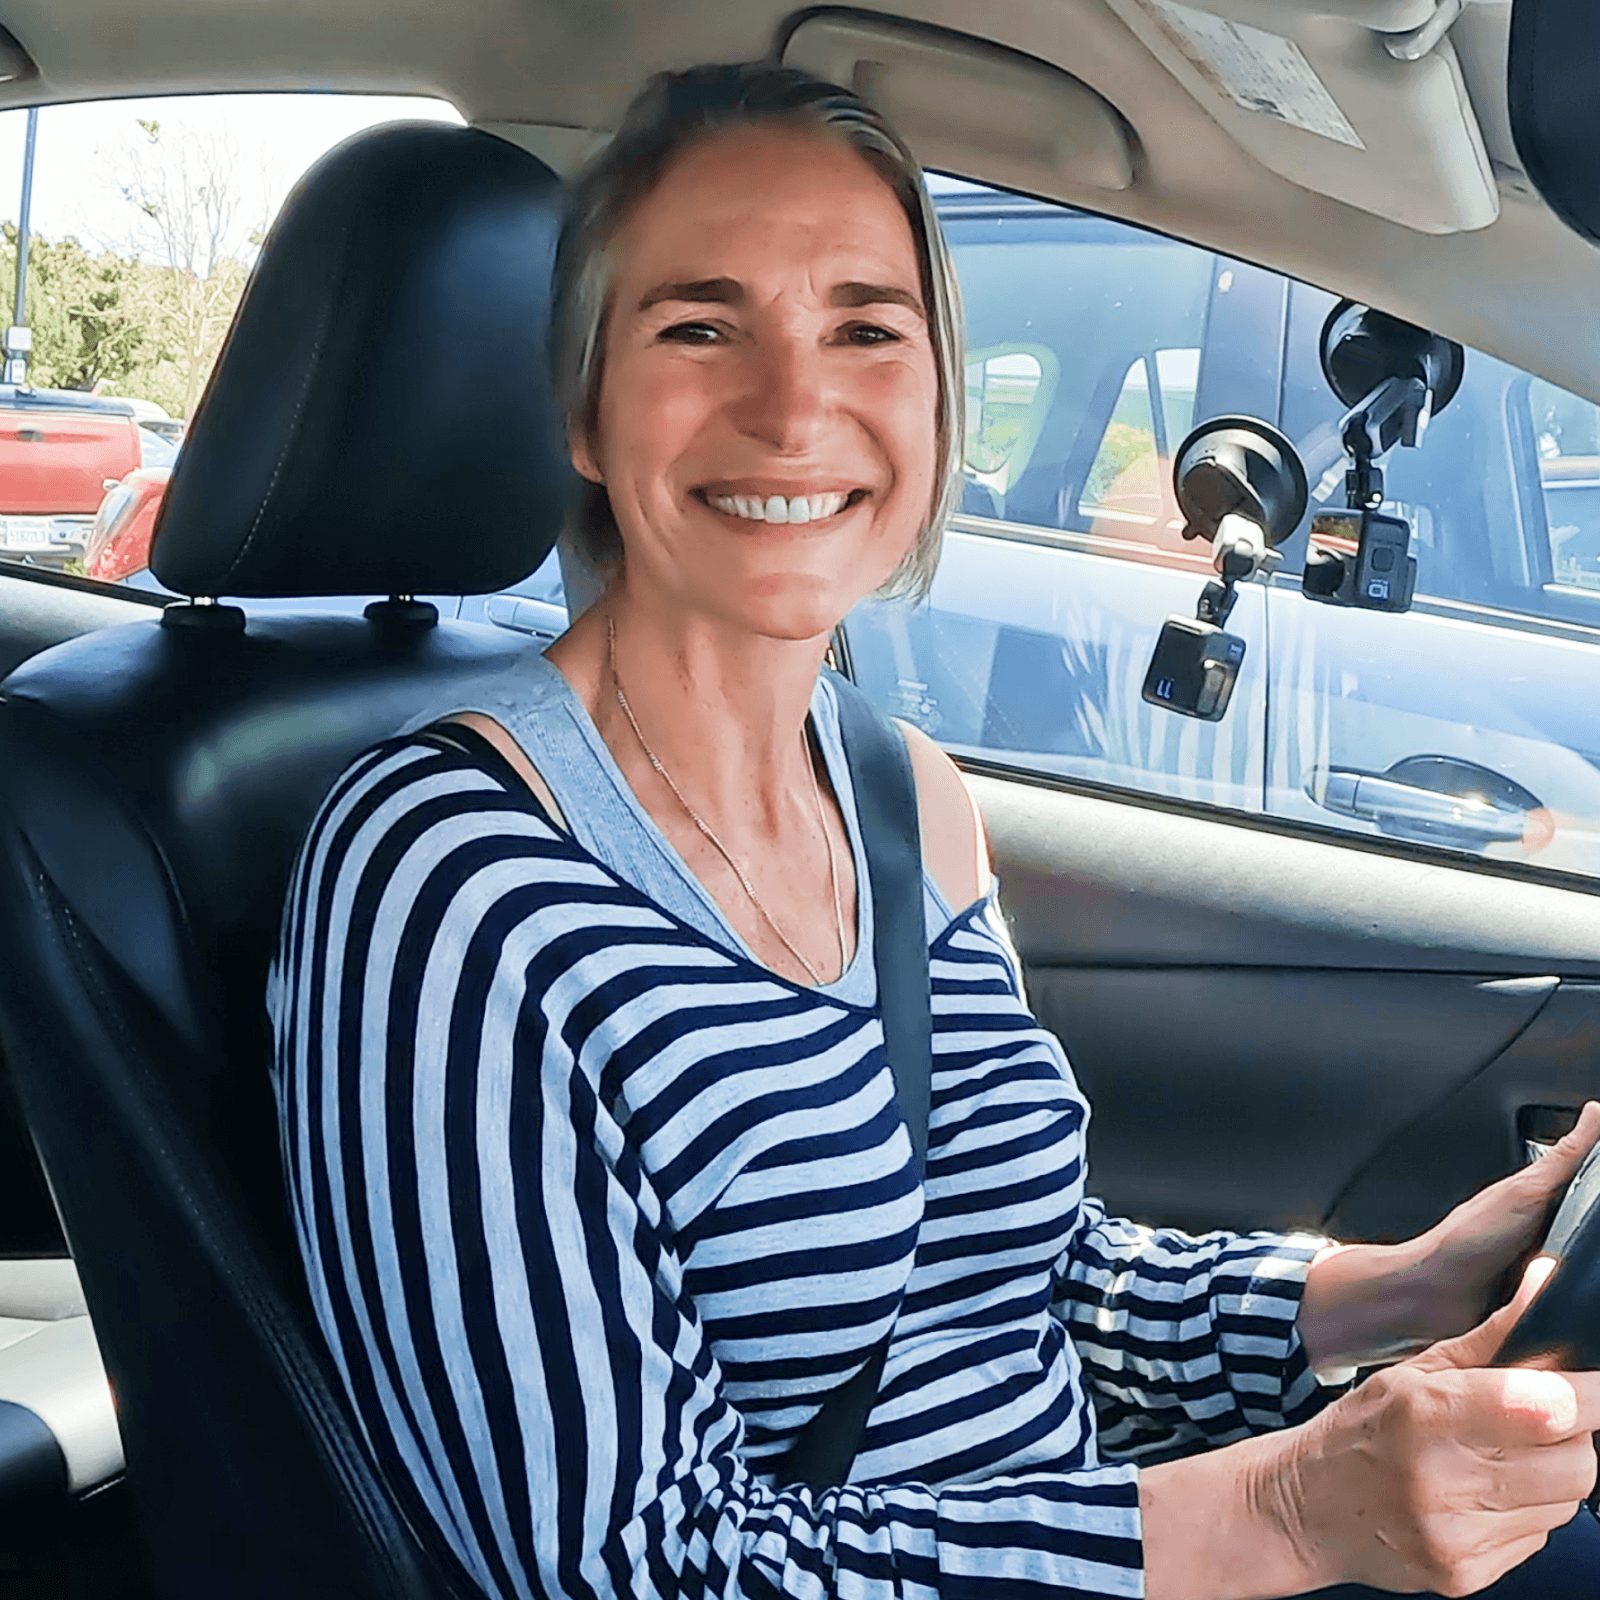 Instructor Jacqueline leads every PTTG lesson on video, walking you through each skill and showing you what to coach.
Residential Driving Skills FAQ
Follow a Structured System Inside Zutobi
Give your teen the safety advantage that research supports. Start the Zutobi Parent Driving System.


